How to Paint Tiles
Painting tiles can be a cost-effective way to refresh your bathroom, kitchen, or floor without the expense of a full remodel. Follow this guide to transform your tiles with a fresh coat of paint!
Step 1: Gather Necessary Materials and Tools
You’ll Need:
- Tile cleaner or degreaser
- Sandpaper (220-400 grit)
- Painter’s tape
- High-quality primer (specifically for tile or glossy surfaces)
- Tile paint (epoxy or latex paint designed for high moisture areas)
- Paint roller and brush
- Sealant (optional, for extra durability)
- Drop cloths or plastic sheets
- Safety gear: gloves, mask, and goggles
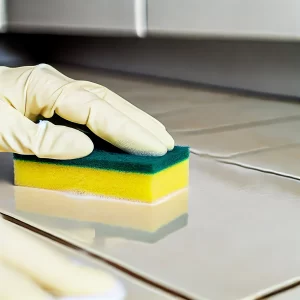
Step 2: Clean the Tiles Thoroughly
Clean the tiles with a tile cleaner or degreaser to remove any dirt, grease, or mildew. Ensure they’re spotless, as any residue left can affect paint adhesion.
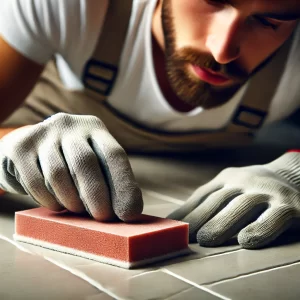
Step 3: Sand the Tiles
Lightly sand the tiles to create a rough surface for better paint adhesion. Use 220-400 grit sandpaper, focusing on glossy areas. Wipe away any dust with a damp cloth.
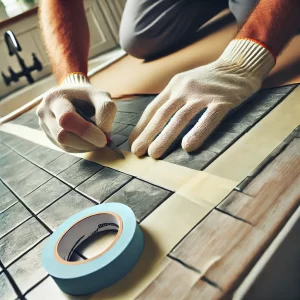
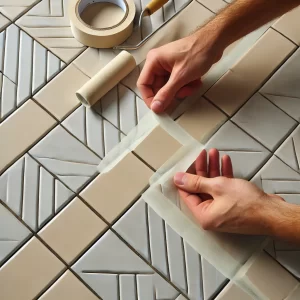
Step 4: Tape Off Surrounding Areas
Apply painter’s tape to protect surrounding areas, including grout lines (if you want a different colour for grout). Cover countertops, sinks, or floors with drop cloths.
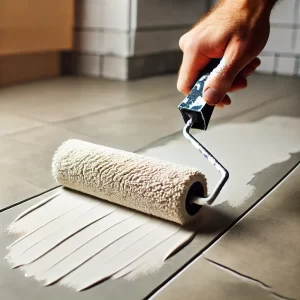
Step 5: Apply Primer
Use a high-quality primer suitable for glossy surfaces. Apply a thin, even layer with a paint roller or brush, covering each tile completely. Allow it to dry as per the primer’s instructions.
Step 6: Paint the Tiles
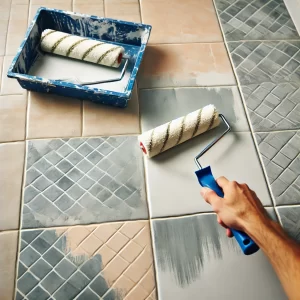
- After the primer is dry, apply the first coat of tile paint. Epoxy or latex tile paint works best for durability.
- Use a paint roller for even application, and a brush for edges or intricate areas.
- Allow the first coat to dry thoroughly before applying a second coat for full coverage.
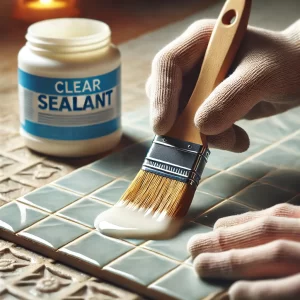
Step 7: Apply Sealant (Optional)
For extra durability, especially in high-moisture areas, apply a clear sealant over the paint once it’s fully dry. This will help protect the paint from wear and moisture.
Step 8: Remove Tape and Clean Up
Once the paint (and sealant, if used) is fully dry, carefully remove the painter’s tape. Clean any minor paint spills immediately for a neat finish.
Tips for Best Results
- Work in small sections to avoid overlapping paint lines.
- Allow each coat to dry fully before applying the next.
- Avoid using the painted area heavily for a few days to let the paint cure properly.
This step-by-step guide provides everything you need to give your tiles a professional-looking paint job. Let me know if you’d like images created for each step!
Make an enquiry below: