Bathroom Tiles
Bathroom tiles are one of the most important aspects of any bathroom design. They not only add to the aesthetic of the space but also play a crucial role in its function. With so many different types, materials, and sizes of bathroom tiles on the market, it can be tough to know where to start when it comes to choosing the right ones for your home.
In this blog post, we will go over everything you need to know about bathroom tiles – from the different types available on the market to the benefits of each. By the end, you will be armed with the knowledge you need to choose the perfect tiles for your bathroom!
If you would like to skip reading this article you can click on the button below to view all the bathroom tiles available through this site.
This article will help you choose the right tiles for your bathroom.
1. What tiles should you choose for a Bathroom?
Choosing the right tile for your bathroom can be hard with literally hundreds of different floor and wall tiles to select from and so many different colours and styles. Below are some simple steps to help you chose the right tile:
STEP 1 Choose a tile size and shape
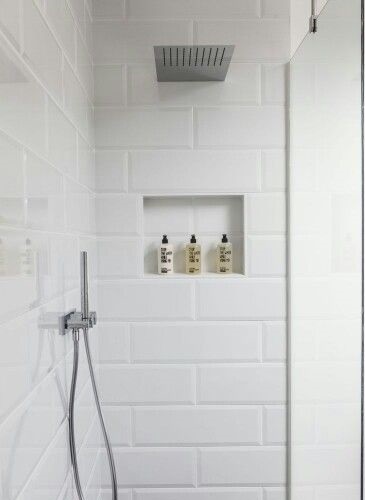
It is crucial to choose the right size of tile for your bathroom as bathroom tiles come in many different sizes from small format tiles to large format tiles, deciding on what size of tile you want in will help narrow down your choices. Your tile choice should meet your bathrooms criteria; for example, larger bathrooms end to use more large format tiles were smaller bathrooms will generally use smaller tiles.
The standard floor tile size in Australia is 300x300mm, so it goes without saying that this is one of the most popular sizes people choose when looking for tiles for their bathroom floor. When it comes to selecting a wall tile, large format tiles are also very popular as they are easier than small tiles to lay.
Stop and think about the surfaces that require tiling and were each of these surfaces will meet each other; this will hep when selecting your tile size and design.
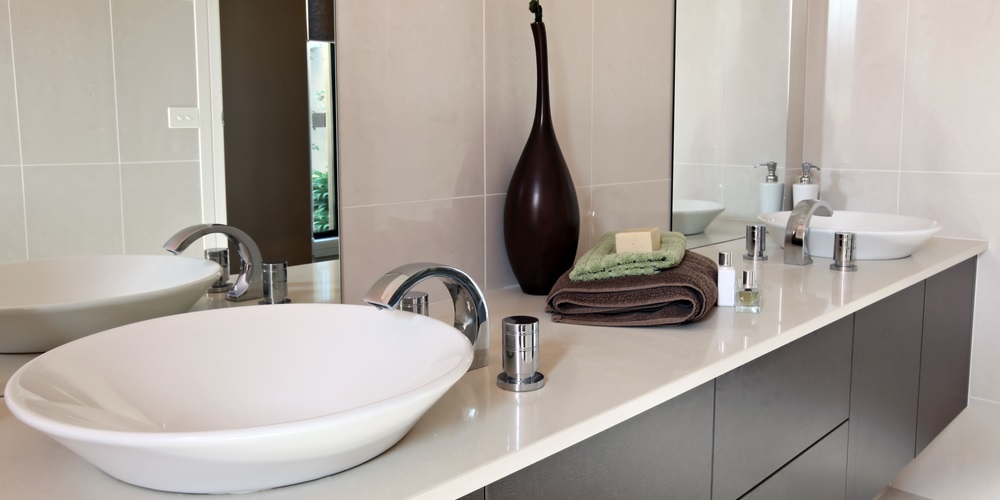
STEP 2 Don’t go with too many tile choices
As a general rule stick to three tile choices or less as to many tiles in your bathroom can make things look busy and confusing. We recommend choosing your floor tiles first then deciding on your wall tiles and how these will contrast with each other. Generally, wall tiles will be used on three of your four walls with the fourth wall being a feature wall. Your feature wall should create a focal point of your bathroom, so this tile choice is very important.
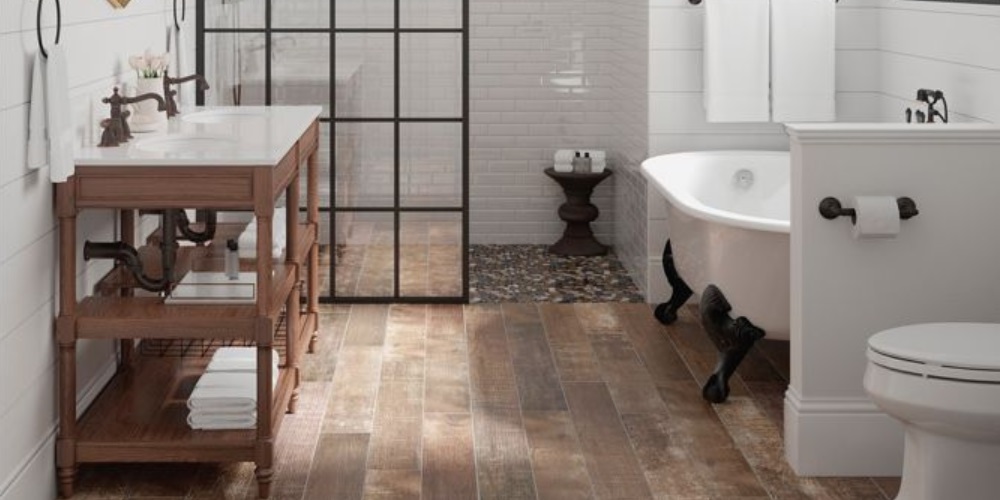
STEP 3 Grout & maintenance
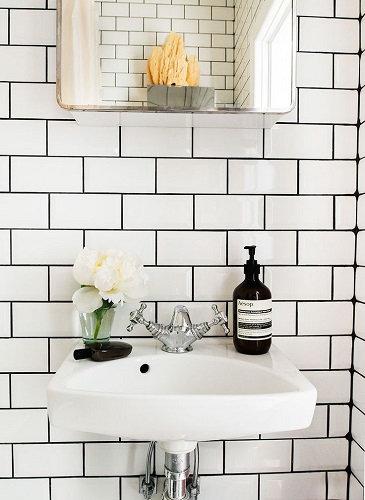
Grout is commonly overlooked when thinking about the tile choices for your bathroom. We believe selecting the right grout makes a huge difference with the finished product. You generally have three grout options,
white, charcoal grey and neutral beige grout.
It is very important when choosing tiles for your bathroom that you consider the maintenance requirements. We highly recommend choosing ties that require as little maintenance as possible, yes you may initially pay more for these tiles however you will be thanking yourself in the long run.
2. How to tile a bathroom?
This article will show you how to tile a bathroom.
Tile is a common flooring material for bathrooms because it’s water resistant and relatively easy to clean. Installing tile can be a daunting task, but it’s a project that most people can do themselves with a little bit of patience and some basic tools.
This guide will walk you through the steps involved in tiling a bathroom floor. We’ll start by discussing the different types of tile and the tools and materials you’ll need for the job. Then we’ll show you how to measure and cut the tiles, how to apply the mortar, and how to grout the tiles.
How To Tile A Bathroom Floor:
Tools and materials you will need for bathroom tiling:
- Tiles
- Bathroom adhesive
- Grout
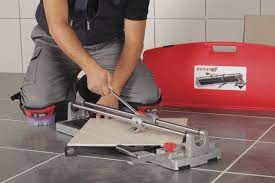
- Tile cutter
- Spirit level
- Tile spacers
- Tile nippers
- Tile grout sealant
Measuring the space and marking the lines for bathroom tiling
Accurate measuring and marking of the tiles is very important for avoiding unnecessary wastage of tiles and for getting a perfect finish. Here are the steps that should be followed for achieving this:
– Decide on the layout of the bathroom and mark the positions of all the fixtures and other objects.
– Measure the dimensions of the bathroom and mark the center point.
– Measure and mark the positions of all the tiles.
– Draw guidelines on the wall using a level and a pencil to indicate the edges of the tiles.
– Cut tiles to size as required using a tile cutter or a wet saw
Laying out the bathroom floor tile
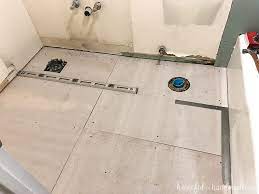
There are a few key things you need to do when you’re laying out floor tile in your bathroom. First, decide on the layout of your tile. You want to make sure that the tiles are laid out in an even pattern, and that there are no gaps between the tiles. Then, use a level to make sure that the tiles are all straight.
Once you’ve decided on the layout and straightened the tiles, you can start to lay them out. Begin by placing the tiles in the corner of the room, and work your way out from there. Use a tile cutter to cut any tiles
Thinset mortar for bathroom tiling & how to apply it
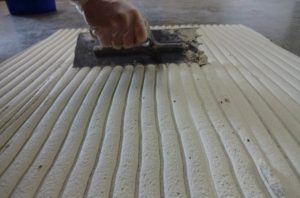
When it comes to bathroom tiling, the most important part of the process is the mortar you use to adhere the tiles to the wall. If you get the mortar wrong, your tiles may not stick and could eventually fall off. In this article, we will discuss the best way to mix the mortar so that your tiles will stay in place.
There are many different types of mortar, but for bathroom tiling, we recommend using a thin-set mortar. This type of mortar is specifically designed for use with ceramic and stone tiles. It is thin enough to be spread easily, yet it is also strong.
Mixing and applying Thinset mortar
There is a right way and a wrong way to mix the thinset mortar. The right way will ensure that the mortar is the correct consistency for bonding the tile to the substrate. The wrong way can cause the mortar to be too thick or too thin, which can lead to problems with the tile installation.
The first step in mixing the mortar is to determine how much mortar is needed for the project. This can be done by measuring the area to be tiled and multiplying by the thickness of the tile. The next step is to add water to the mortar mix according to the manufacturer’s instructions. Apply the mortar to the floor as per instructions from the manufacturer.
Setting bathroom tiles in place
Place the tiles in the desired position and press them firmly against the adhesive. Use a level to ensure that the tiles are aligned correctly. Finally, allow the adhesive to dry completely before using the bathroom.
Grouting the bathroom tiles
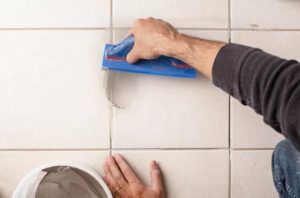
Grouting the bathroom tiles is an important task that should not be taken lightly. It is necessary to keep the grout clean and free of mold and mildew in order to maintain a healthy environment and keep the tiles looking their best.
There are several ways to clean grout, but the most effective method is to use a mixture of vinegar and baking soda. This mixture can be sprayed on the grout, left to sit for a few minutes, and then scrubbed with a brush. The tiles can also be cleaned with this mixture, but it is important to avoid getting it on the fixtures or flooring.
Need to clean your grout? Read our fantastic article on grout cleaning.
Sealing the grout for bathroom tiling
Sealing the grout is a crucial part of bathroom tiling. Not only does it protect the grout from dirt and staining, but it also makes the tiles easier to clean. There are a few different ways to seal the grout, but the most popular method is to use a sealant made specifically for grout.
When sealing the grout, it’s important to make sure that the entire surface is covered. Be sure to get into all of the nooks and crannies, and don’t forget the edges of the tiles. The sealant should be allowed to dry completely before applying the second coat. Failure to do so may result in the sealant peeling off.
