How to Remove Grout from Tile
Over time, grout can become dirty, cracked, or stained. Removing old grout and replacing it with fresh grout can give your tiles a new look. Follow this guide for effective grout removal while protecting your tiles.
Step 1: Gather Necessary Tools and Materials
You’ll Need:
- Grout saw or grout removal tool
- Utility knife (optional for tight spaces)
- Rotary tool with a grout removal attachment (optional for larger areas)
- Dust mask
- Safety goggles
- Painter’s tape (to protect tile edges)
- Vacuum or brush (to clean up dust)
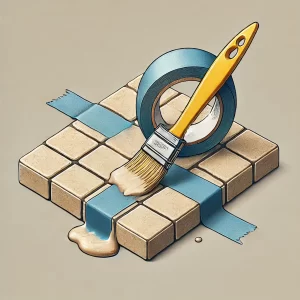
Step 2: Protect Tile Edges with Tape
Apply painter’s tape along the edges of the tiles to prevent accidental scratching. This step will help protect the tile surface as you remove the grout.
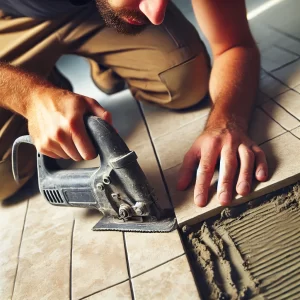
Step 3: Use a Grout Saw or Grout Removal Tool
- Hold the grout saw or removal tool at a slight angle to the grout line.
- Apply gentle pressure to scrape along the grout line.
- Work in small sections, focusing on removing grout without digging into the tiles.
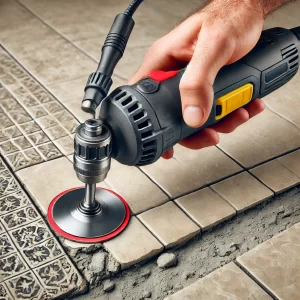
Step 4: For Larger Areas, Use a Rotary Tool (Optional)
If you’re working on a large area, a rotary tool with a grout removal attachment can speed up the process.
- Run the rotary tool along the grout line, keeping a steady hand.
- Move slowly to ensure that only the grout is removed and not the tile edges.
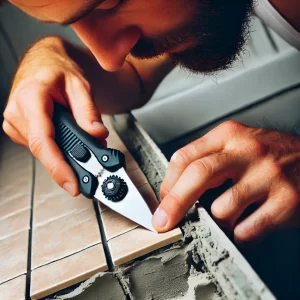
Step 5: Clean Out the Grout Lines
- Use a utility knife to carefully remove any remaining grout in tight spaces or corners.
- Once all grout is removed, vacuum or brush out the grout lines to clear out dust and debris.
Step 6: Inspect the Tile Surface
After cleaning out the grout lines, inspect the tiles and grout lines for any remaining debris. Ensure the area is fully cleared and ready for regrouting.
Tips for Best Results
- Work slowly and carefully to avoid scratching or chipping tiles.
- Use a dust mask to protect yourself from dust while removing grout.
- For stubborn grout, a steam cleaner can help loosen it before removal.
This guide should help you remove grout safely and effectively. Let me know if you’d like images created for each step!
Make an enquiry below: