How to Grout Tiles
Grouting tiles is the final step in creating a smooth, finished look for your tiled surface, whether it’s a wall, floor, or backsplash. This guide will walk you through each step to ensure a professional and durable finish.
Step 1: Gather Necessary Tools and Materials
You’ll Need:
- Grout (pre-mixed or powdered)
- Grout float
- Bucket of water
- Sponge
- Rubber gloves
- Grout sealer (optional, for added durability)
- Microfiber cloth
Step 2: Prepare the Grout
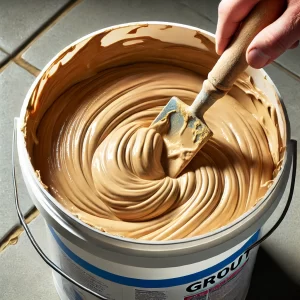
- If using powdered grout, mix it with water according to the manufacturer’s instructions until you achieve a peanut-butter-like consistency.
- Allow the grout to sit for a few minutes (as recommended on the package) to let it slake, then stir again before applying.
Step 3: Apply the Grout
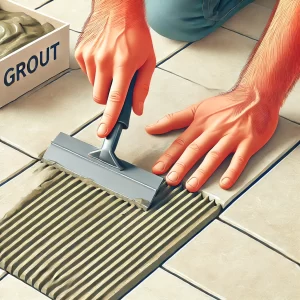
- Using a grout float, scoop up a small amount of grout.
- Spread the grout diagonally across the tiles, pressing it into the joints firmly to ensure even coverage.
- Continue until all joints are filled, adding more grout to the float as needed.
Step 4: Remove Excess Grout
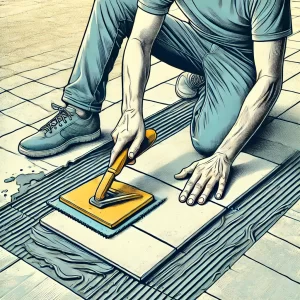
- Hold the grout float at a 45-degree angle and use it to scrape away excess grout from the tile surface.
- Work diagonally across the tiles to avoid pulling grout out of the joints.
Step 5: Clean the Tiles
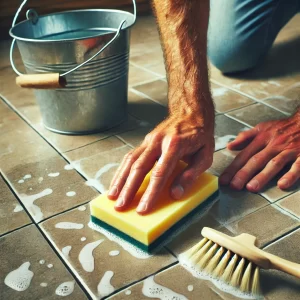
- After about 10-15 minutes, use a damp sponge to gently wipe the tiles, removing any remaining grout from the surface.
- Rinse the sponge frequently and wring it out well to avoid adding excess water, which can weaken the grout.
Step 6: Polish the Tiles
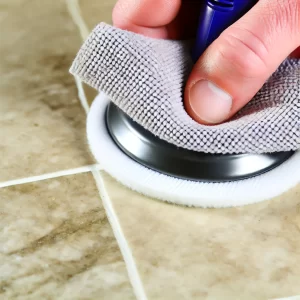
- Once the grout has dried to a haze on the tile surface, use a dry microfiber cloth to polish and remove the haze.
- Buff the tiles in circular motions until they shine.
Step 7: Apply Grout Sealer (Optional)
For added protection, especially in high-moisture areas, apply a grout sealer after the grout has cured.
- Use a small brush or applicator bottle to apply sealer along each grout line.
- Allow it to dry as per the product instructions.
Image suggestion: A person applying grout sealer along the grout lines with a small brush.
Tips for Best Results
- Work in small sections to avoid letting the grout dry too quickly.
- Take care not to over-wet the grout when wiping tiles.
- If you’re working in a high-humidity area, allow extra drying time before sealing.
Make an enquiry below: