How to Remove Wall Tiles
Whether you’re renovating a bathroom or updating a kitchen, removing wall tiles can be a tricky task. Follow these steps to ensure you remove tiles safely and efficiently without damaging the underlying wall.
Step 1: Gather the Necessary Tools and Safety Gear
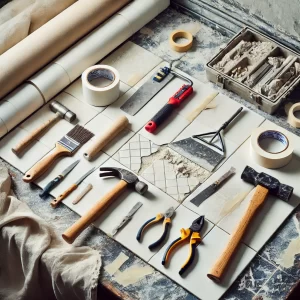
You’ll Need:
- Safety goggles
- Dust mask
- Gloves
- Chisel or putty knife
- Hammer
- Pry bar
- Painter’s tape
- Drop cloth or plastic sheeting
- Bucket for debris
- Utility knife

Step 2: Prepare the Area
Protect the surrounding surfaces with painter’s tape and cover the floors and countertops with drop cloths or plastic sheets. This will catch debris and make cleanup easier.
Step 3: Remove Grout around the Tiles
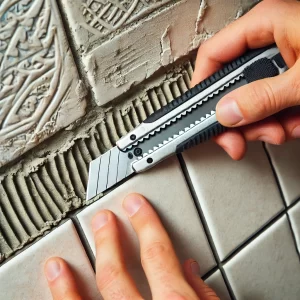
Use a utility knife to carefully score and remove grout around each tile. This makes it easier to loosen each tile without damaging adjacent tiles.
- Place the knife at an angle and gently scrape the grout along each edge of the tile.
- Avoid putting too much pressure to prevent damage to the wall underneath.

Step 4: Loosen and Remove the First Tile
Locate a tile at an edge or in a corner, as it’s easier to start here.
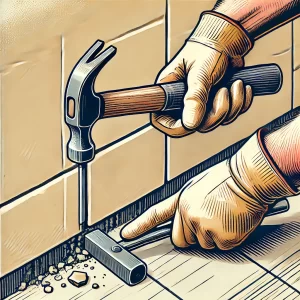
- Position a chisel at the bottom edge of the tile.
- Tap the chisel gently with a hammer to lift the tile away from the wall.
- Gradually work the chisel around the tile edges until it loosens and you can pry it off.

Step 5: Continue Removing Tiles
After the first tile is removed, continue with the surrounding tiles.
- Insert the chisel behind each tile.
- Tap with the hammer to loosen the tile from the adhesive.
- Use a pry bar if necessary to remove stubborn tiles, working in small sections.

Step 6: Clean Up Adhesive Residue
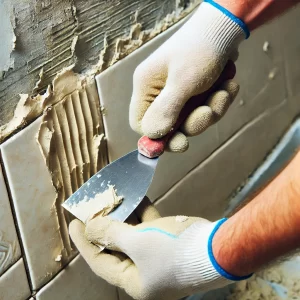
Once the tiles are removed, there may be leftover adhesive on the wall. Use a putty knife or chisel to scrape off the adhesive, creating a smooth surface for new tiles or wall finishing.
- Scrape gently to avoid damaging the wall.
- For stubborn adhesive, consider a heat gun to soften it for easier removal.

Step 7: Dispose of Tiles and Debris
Place broken tiles and debris into a bucket or heavy-duty waste bag. Use a vacuum or brush to clear dust from the workspace.
Image suggestion: A bucket filled with broken tile pieces and a vacuum clearing dust.
Tips for Best Results
- Take your time to avoid damaging the wall surface.
- If working with plaster walls, be extra gentle to prevent cracks.
- Avoid excessive force to reduce dust and debris.
Make an enquiry below: